
Changing the Cabin Air Filter in my Ioniq
Freshen your air

Like every car, the Ioniq has a cabin air filter. And like many cars it is located behind the glove box. Changing the cabin air filter is one of the things a dealer will do for you at a yearly service, but why pay them $50 to $100 to do this when you can buy a filter for $20 or less and do it yourself in a few minutes for free?
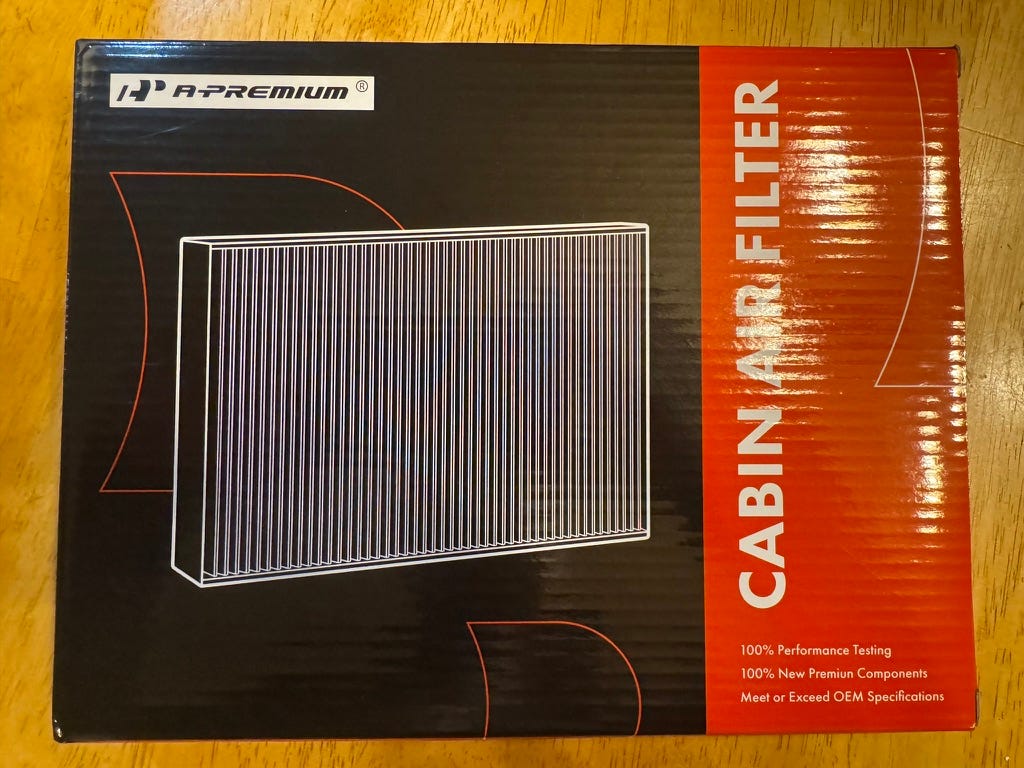
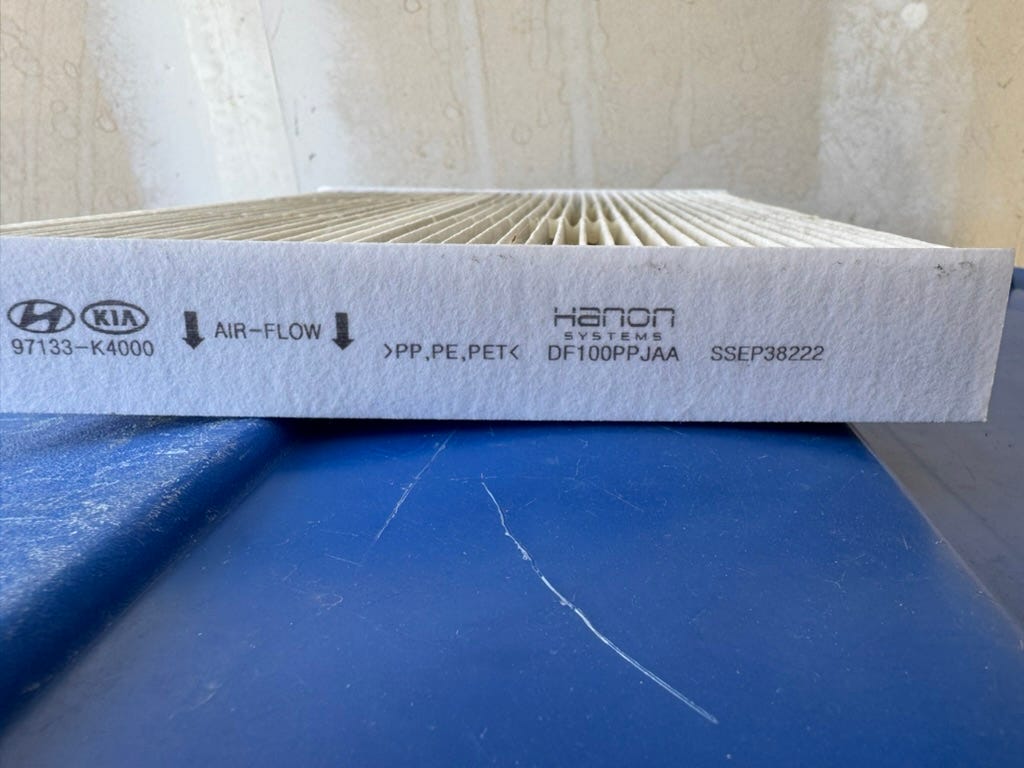
I purchased this filter from Amazon for about $10:
The steps to swap the filter are simple.
First, you’ll want to empty out the glove box and find the two round plastic clips on each side. You can twist them and then pop them out.
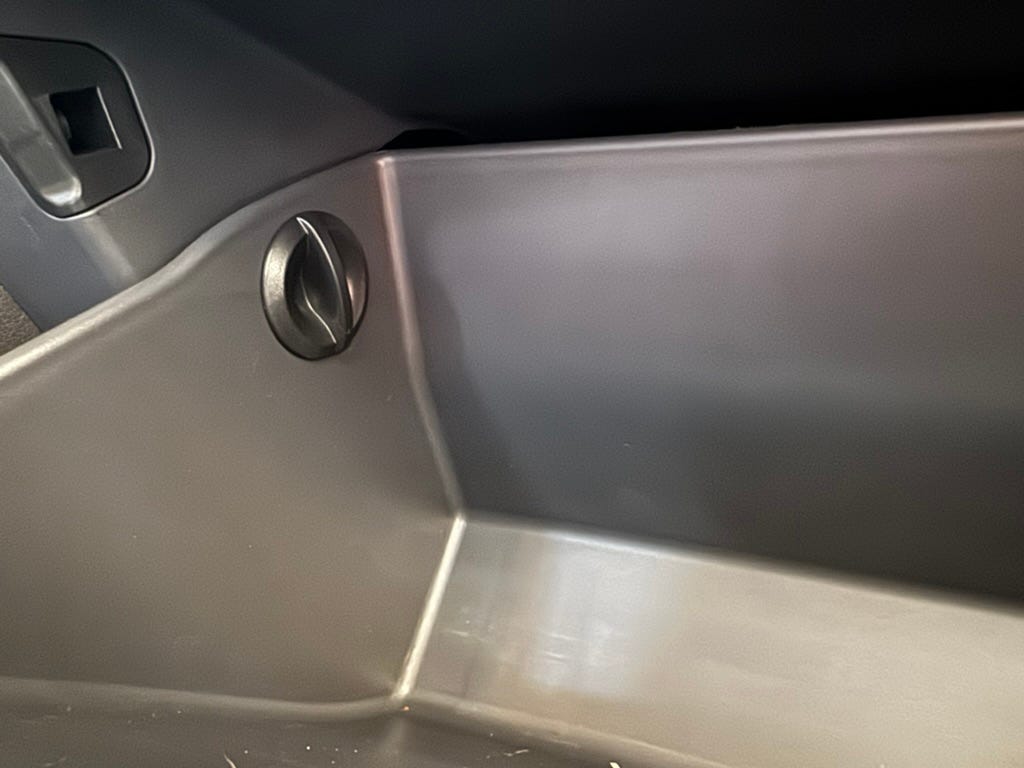
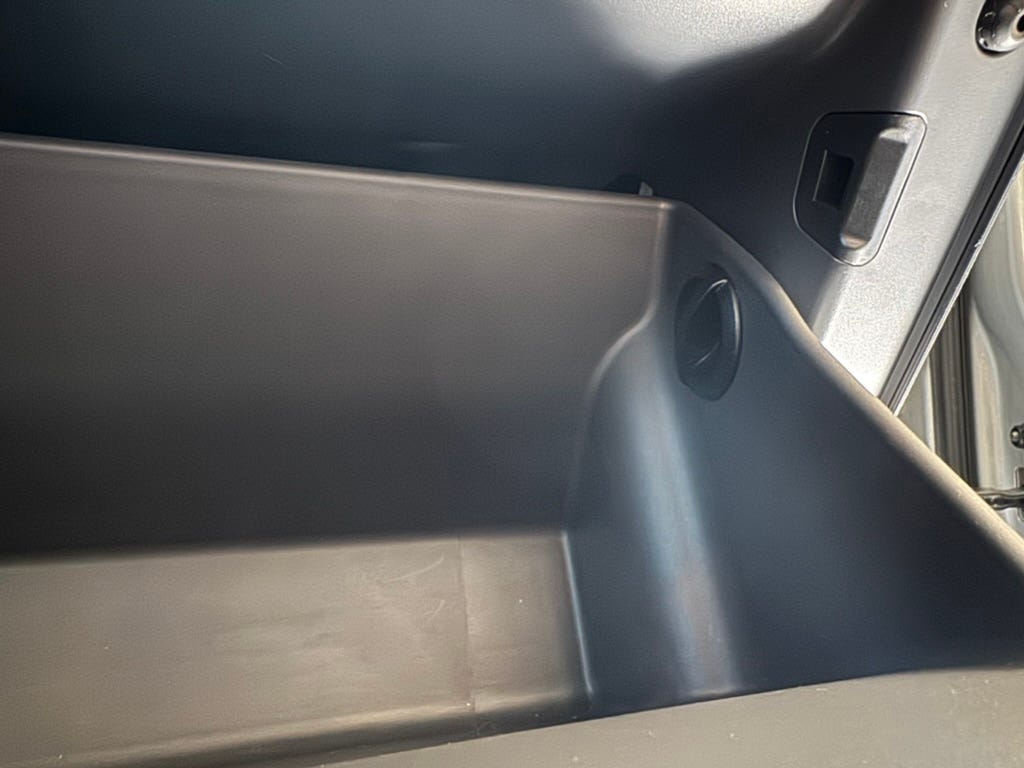
Once they are out, the glove box will drop down lower, revealing the air filter location.
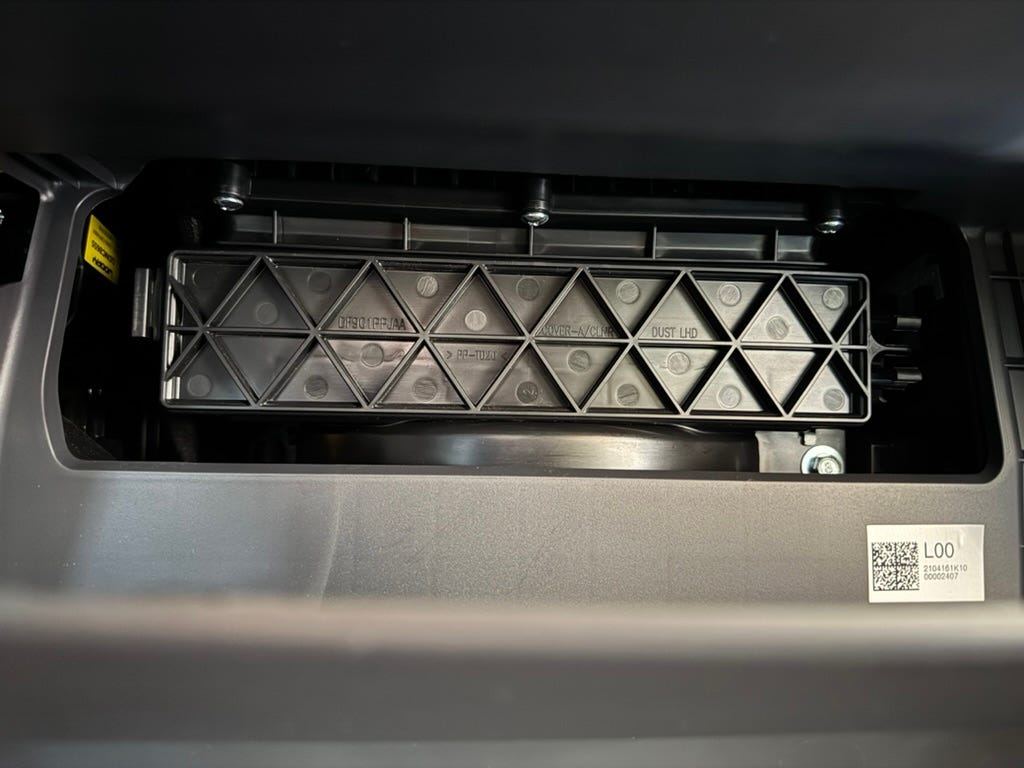
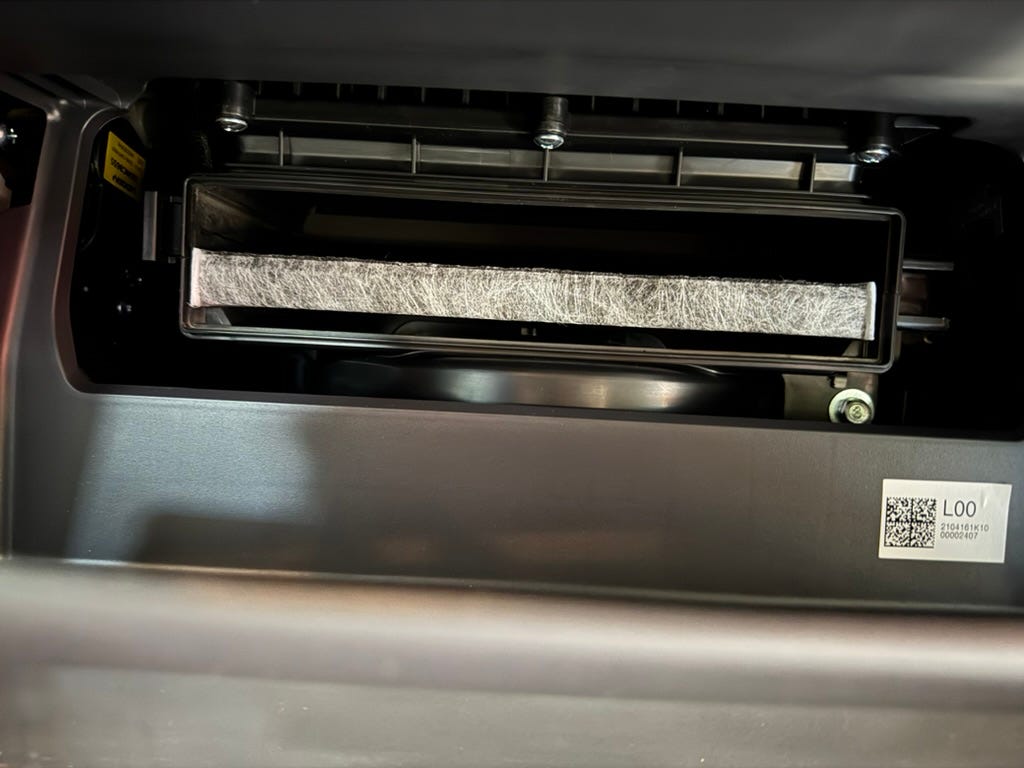
There is a plastic cover over the filter. Squeeze the clips on the right side to release the cover. With it removed you can access the filter.
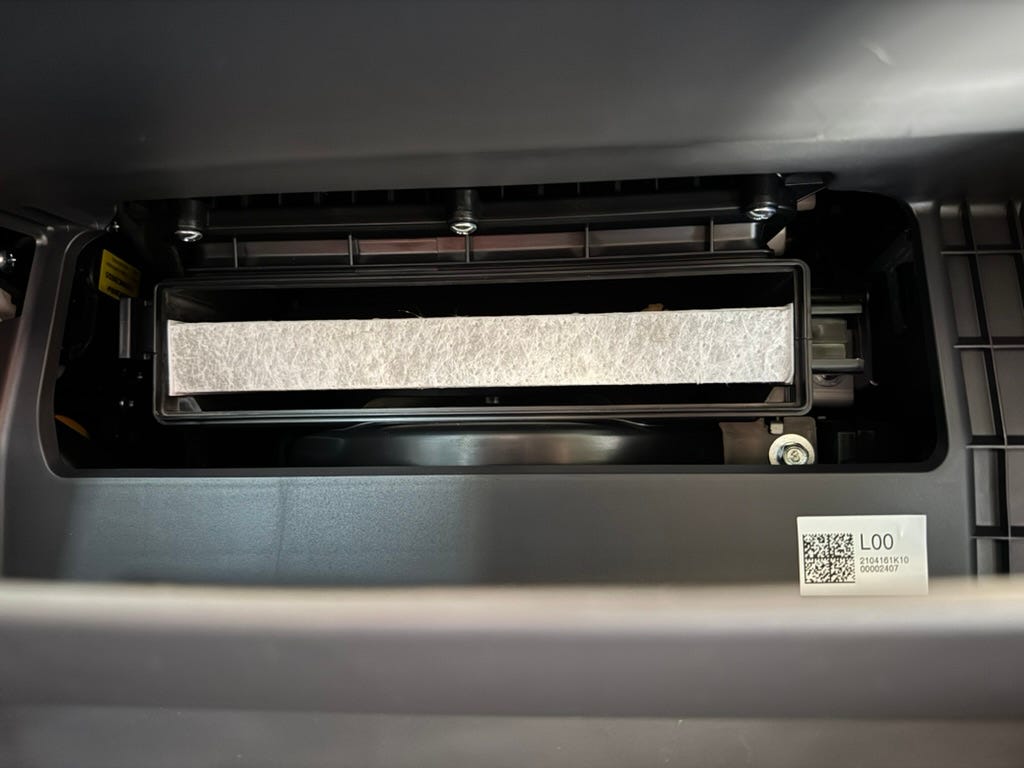
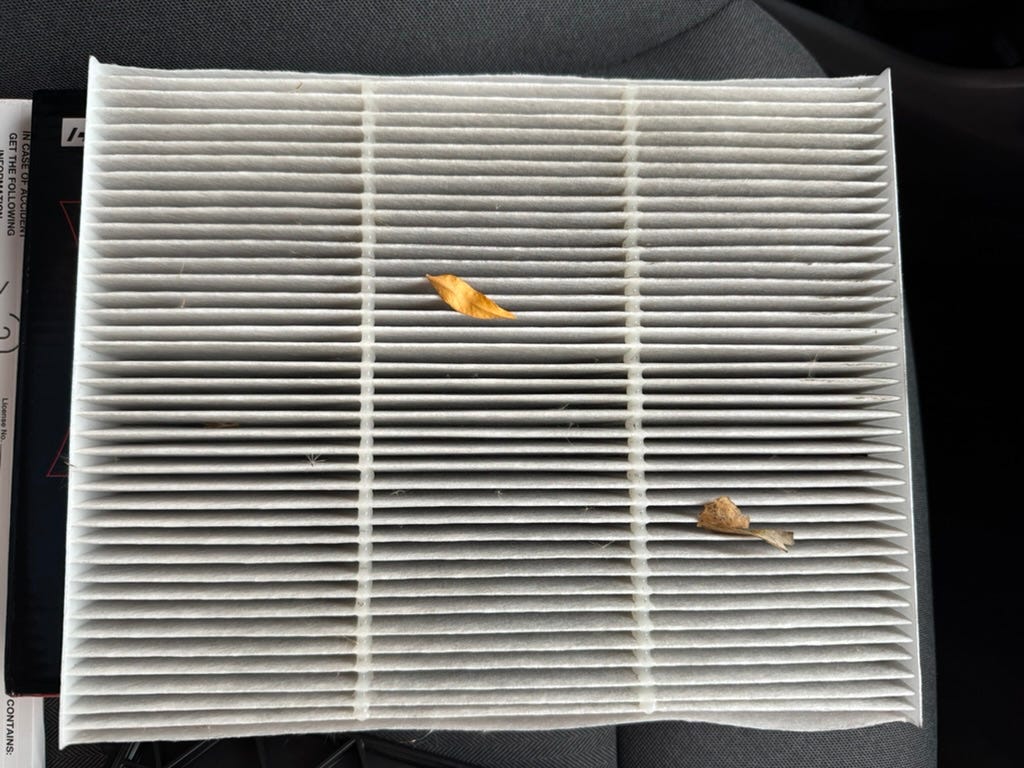
You can now just slide it out. Make a note of the airflow direction of the existing filter, which should be pointed down. My filter was about a year old and was noticeably dirty. It even had a couple leaves stuck in it!
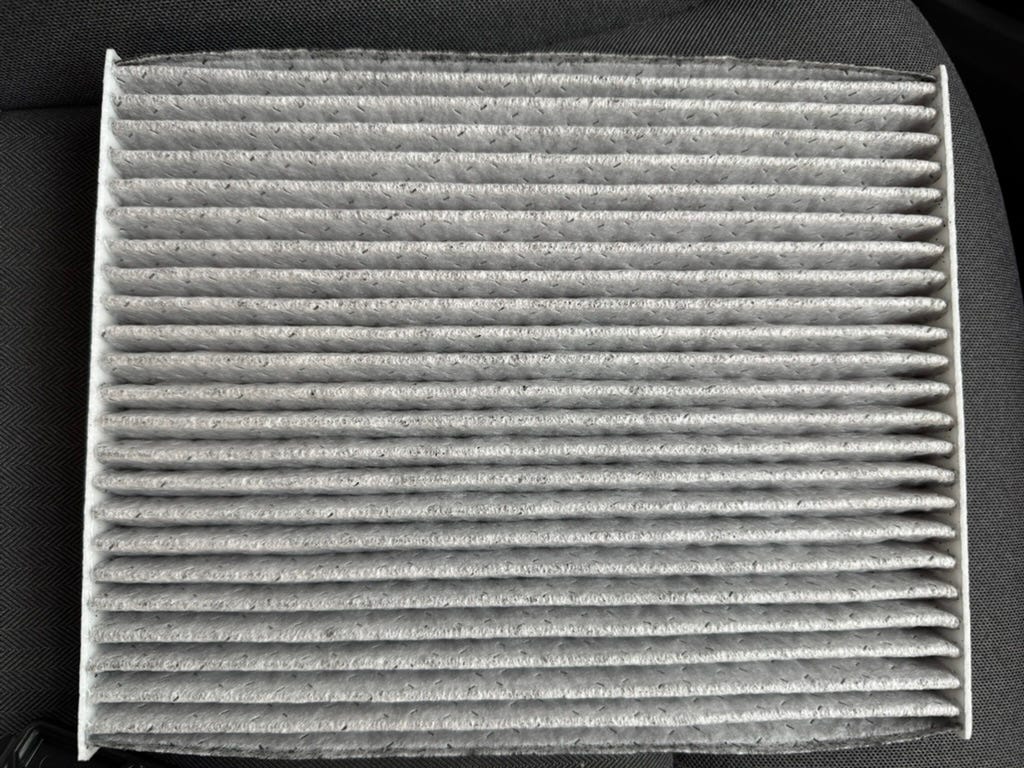
The new filter looked nicer, with those lovely charcoal specs.
I noted the airflow direction and slid it into the slot.
However, you can see that the filter I got was not as thick as the prior one. Perhaps I should have spent a bit more and gotten the $20 one, but it fit just fine.
You now have to put the cover back on and pop the clips back into the glove box and you’re done.
It took about 5 minutes or so to do this swap.
I’ve now driven the car for a week with the new filter and everything seems fine. I was concerned they might be some noise or rattle coming from that area since the new one is slightly smaller than the old one, but I’ve not noticed anything.
I hope you’ve found this helpful.
If you like EV-related tips, commentary and essays, please consider subscribing.